As a commercial interior designer you always have brilliant ideas for spaces. You usually know what you want to see, but have you ever wondered what it takes to make your ideas reality? How do those huge photographic wall murals go from your screen to the walls of a building? How do you turn that dull space into something truly inspiring? In this series of articles we talk about the processes involved, from initial idea through to the finished space. In this post we cover the installation procedure.
Wall Glamour don‘t just print murals, we also install them. In fact, this is an integral part of our work with commercial interior designers. Once a client has designed the project and had it signed off, the artwork is sent to us, then the prints are produced and prepared ready to be installed. Prior to installation, we will request a job sheet with all of the information we need when we arrive on site. This information should include the usual – address, site contacts and dates of installation, but also crucial health and safety information. If the site is a new build it will usually be under the control of a building contractor who will have strict health and safety requirements. This will include any PPE (personal protection equipment) required, but can also include access issues. It is very important that we are briefed correctly prior to working on a building site. This may include attending a Health & Safety briefing or induction which lays out the principles in which contractors and subcontractors are expected to behave on site.
Once we arrive on site, a suitable area for unloading the products and equipment is found. Contactor parking is not always available, but access considerations should always be given e.g. are lifts working to upper floors. Once our team are parked they make their way to the health and safety briefing or report to the site contact. Then we walk the route to the area we’re working in and check the access through doors, lifts and corridors.
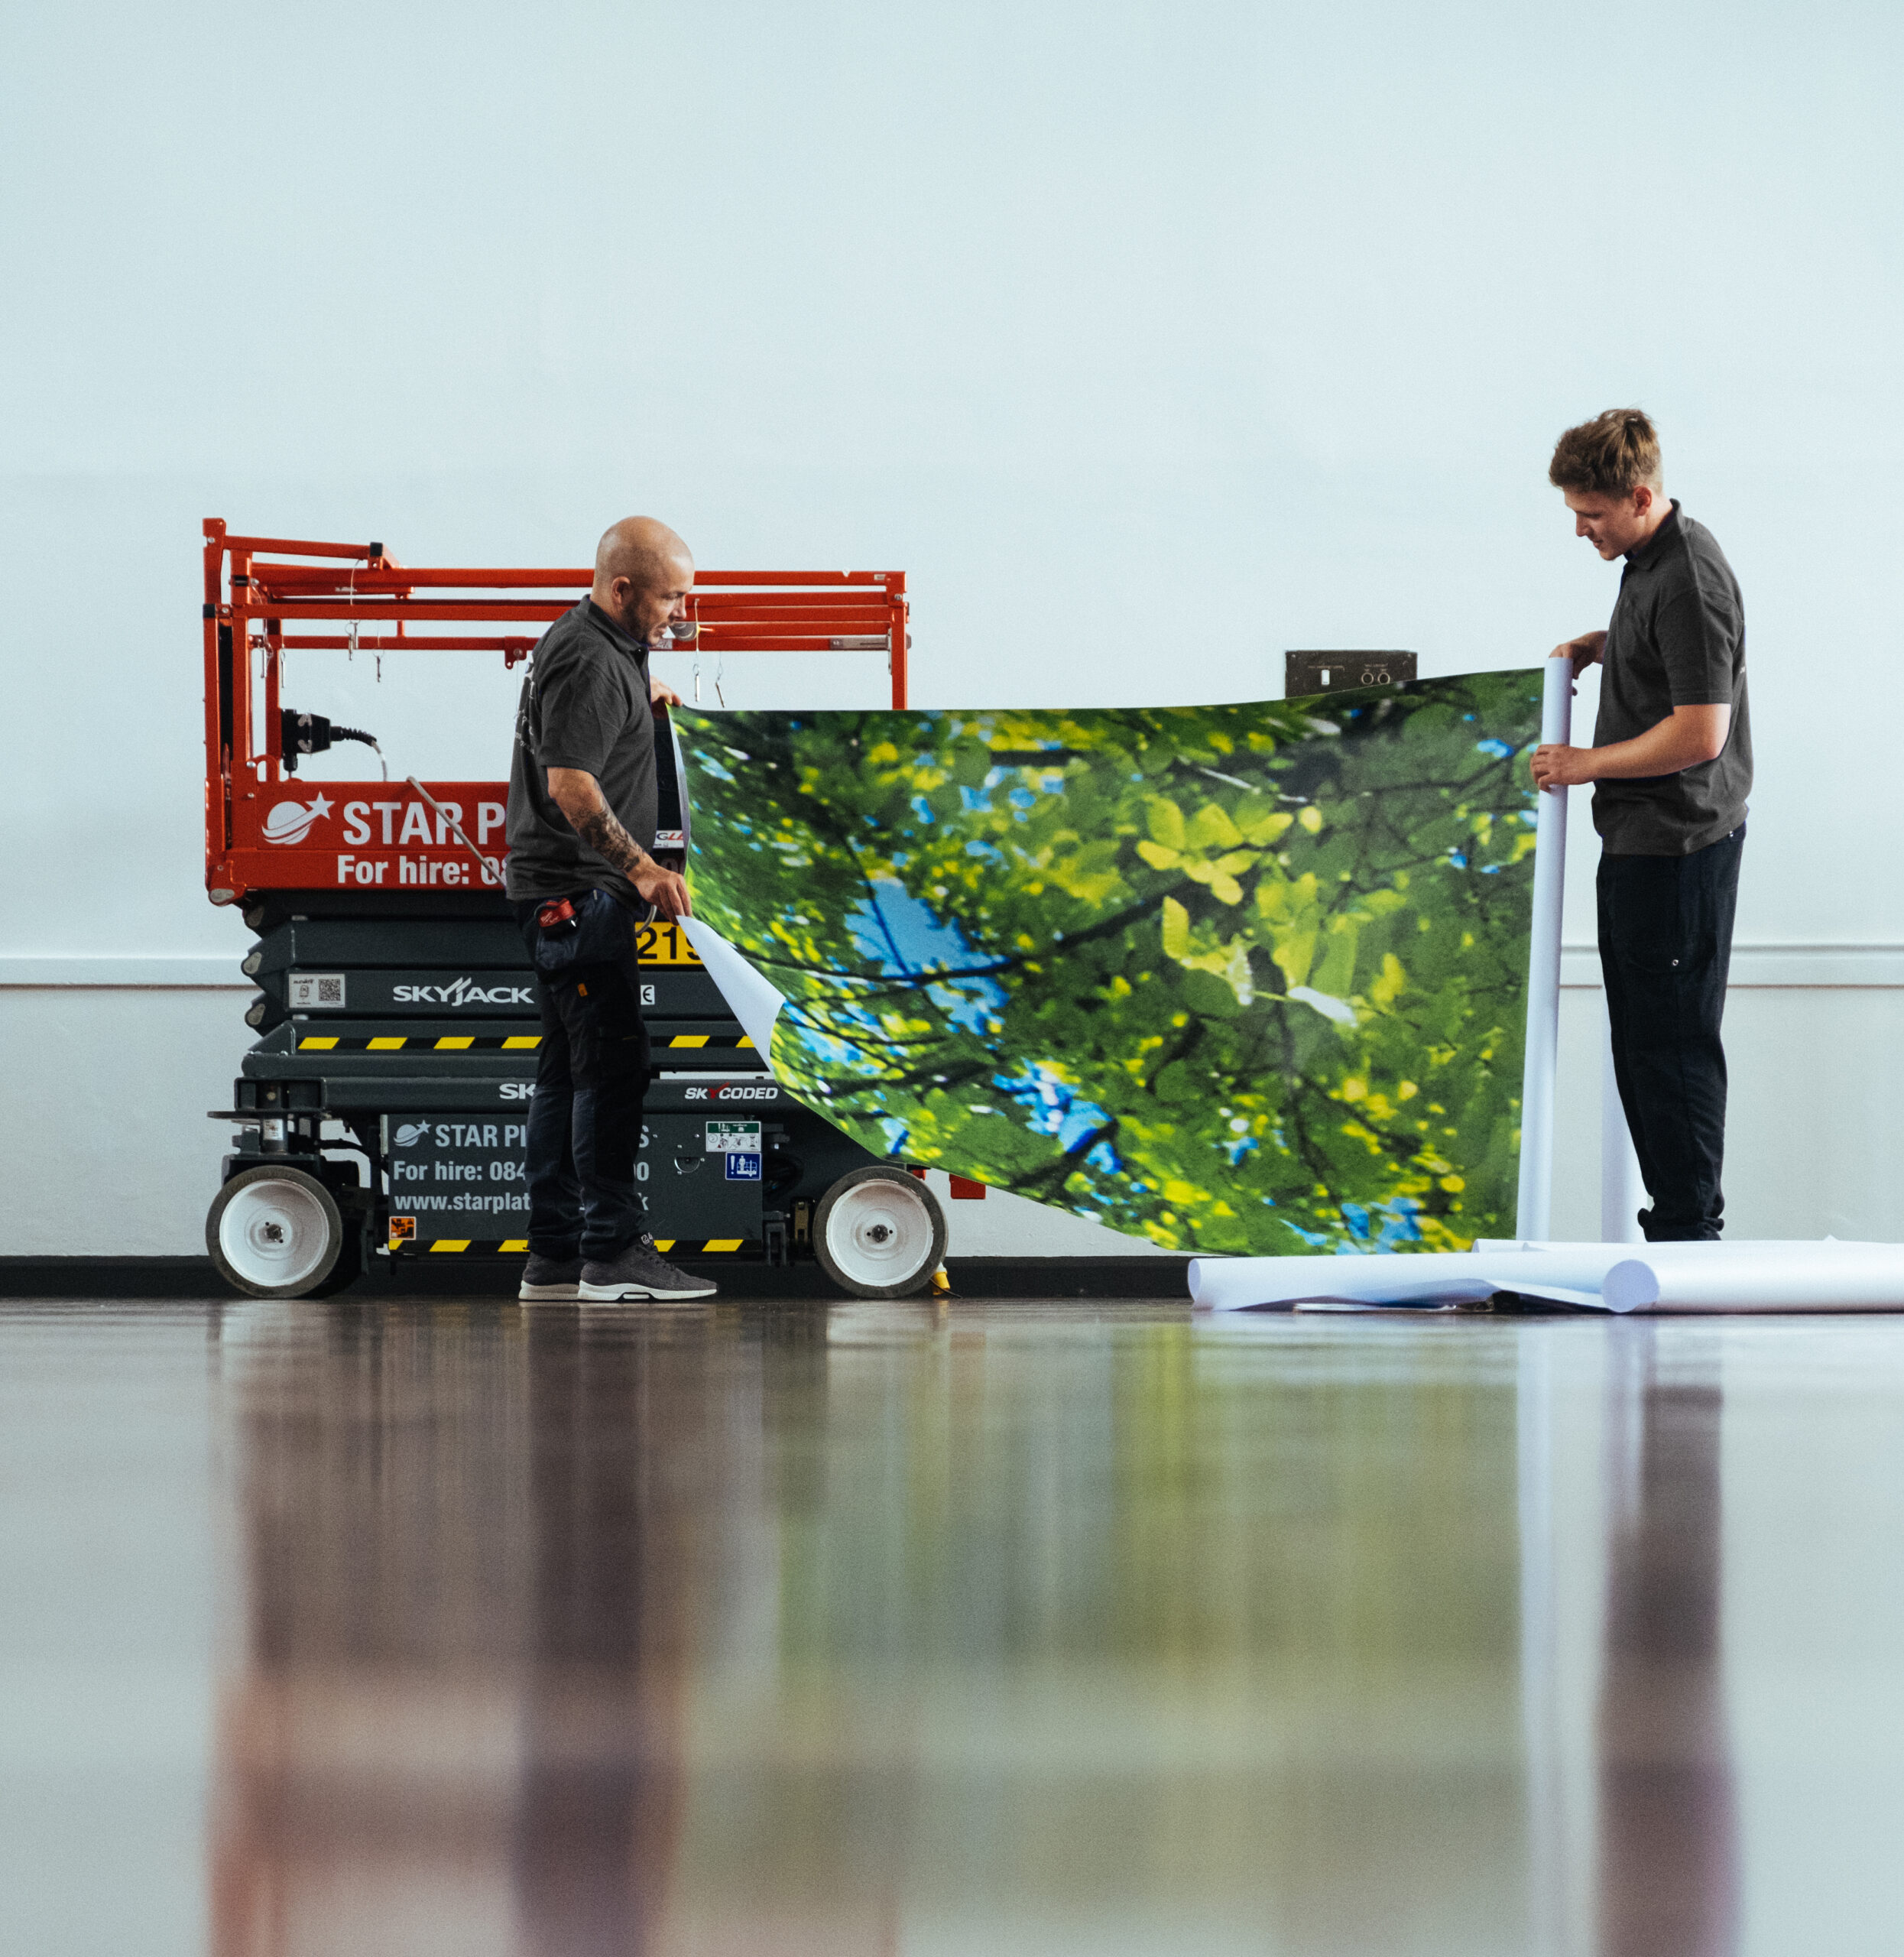
We will then request a suitable work area. The murals are brought to site rolled up and compact, but as soon as we start to unpack them ready for installation, clean and clear space is needed. We also need space for toolboxes and step ladders. Depending on the scale of the project we can move from area to area, but we have found that a single dedicated base helps the installation run smoother and quicker. Once we are unpacked, we check the project drawings to ascertain which walls required the artwork. This is when detailed elevations and plans are important to avoid misplacements or errors. If a wall requires a mural we will usually scrape it to remove any paint flecks or imperfections. (This depends on the area we are working in – we sometimes work on sites where any amount of dust is considered a hazard.) If we are installing wall stickers we usually do not scrape the whole wall, but we will scrape off any obvious imperfections. We are aware that certain projects will not have an estates department or personnel on-site to remove existing items from the walls. We can do this, however, the replacement of items back onto the wall will require a waiver if this is a requirement.
In our years of installing wall murals in an interior design setting, we have found that designers can effect the most impact by completely understanding the client’s needs and the various functions of the space. Installing a mural on a wall where a cupboard or large rack of shelves is going to be positioned will spoil the impact and is not the most effective use of the budget, but may be unavoidable. Our experienced installers will work with the site contacts to minimize disruption. They are smart, polite, helpful and quiet, working efficiently but carefully.
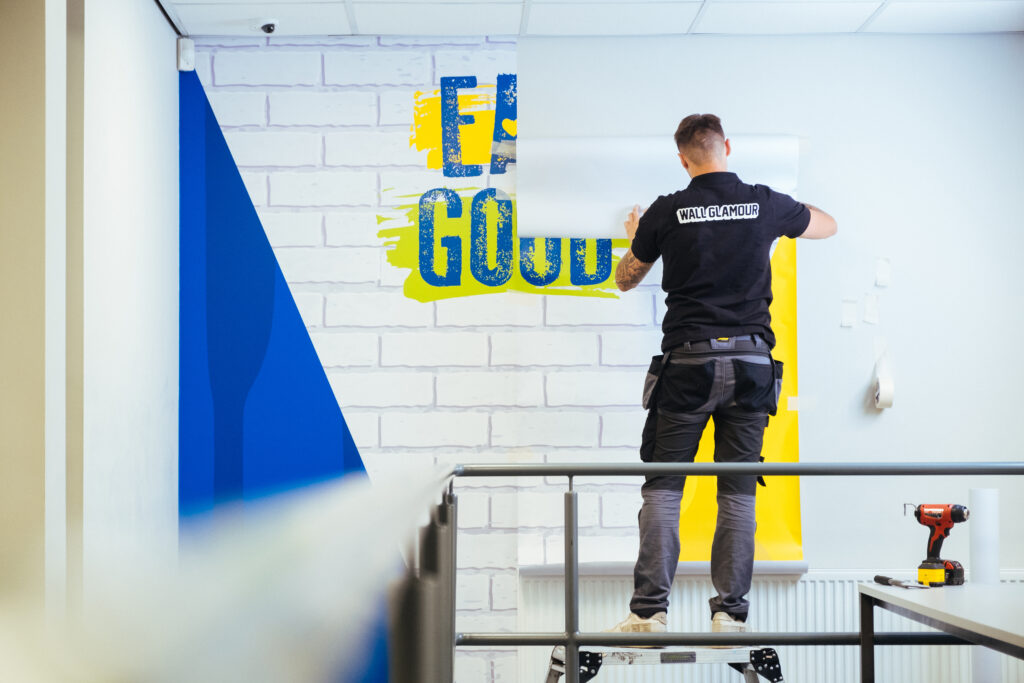
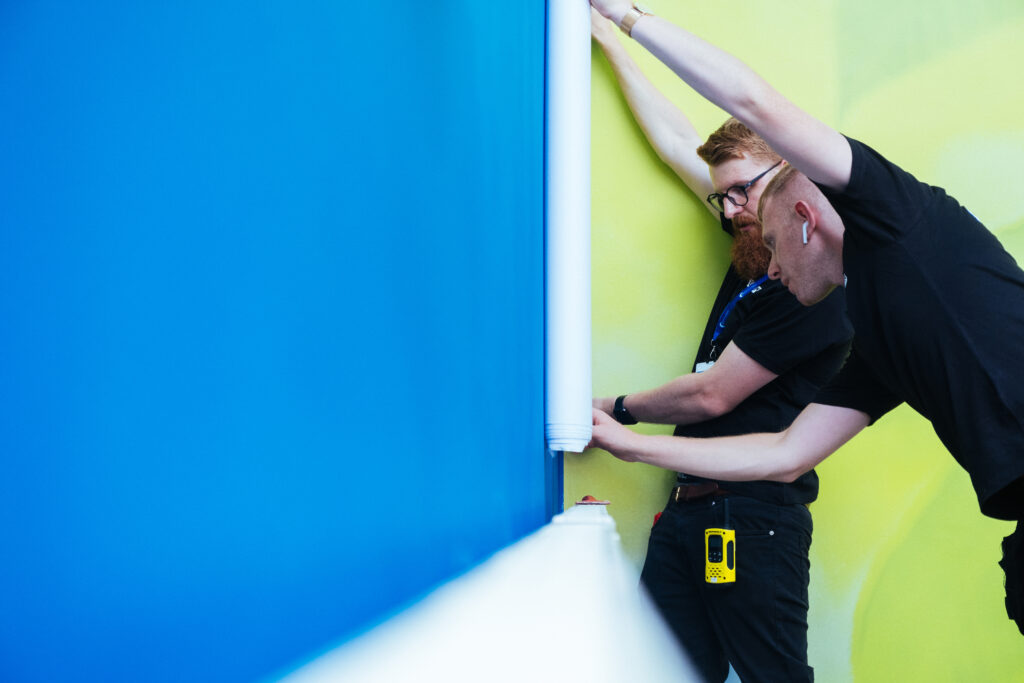
Now for the installation, where the white walls go from being a blank canvas to something filled with colour and inspiration. This is usually done using laser levels and a great deal of experience. Installing self-adhesive vinyl onto painted walls requires a special process and great care. Depending on the specifications for the project we can work with various materials; if the project is a short-term application we can use removable materials, whereas if the project is on a five to ten year life cycle we would usually use high-tack materials.
Once our team have installed the murals or stickers we will tidy the area and put back anything we have moved as agreed with the site contact. We will then take photos of the completed work for our interior design clients (and also for our own portfolio). We will pack our tools and equipment and remove any waste from site. Finally, we will make sure the site contact is happy with the project before we leave.
The ‘reveal’ of the transformed space can often be pretty dramatic. This is usually when we receive enthusiastic comments and feedback! This is, of course, down to the realisation of the designers ideas. Despite being the the facilitators rather than the designer, we are always pleased to be part of a process that dramatically improves a space.
About Wall Glamour.
Wall Glamour transform spaces using wall murals and graphics. We turn blank walls into visual treats which have a significant positive effect on the users of those spaces. Our products have featured on several TV shows, and we have installed bespoke projects throughout the UK. These include the BBC World Service lobby and Glasgow’s prestigious new £850m Queen Elizabeth’s Hospital. Wall Glamour wall art is used in businesses, start-ups, gyms, schools, cafés and healthcare environments.
www.wallglamour.co.uk